| The Paperless Office |
| Contact screens |
| Main Page |
| Browse Screen |
| Adding a Contact |
| Documents screens |
| Scan List Screen |
| Insert Image |
| Scanner Setup |
| Scan Manager |
Scanner Setup
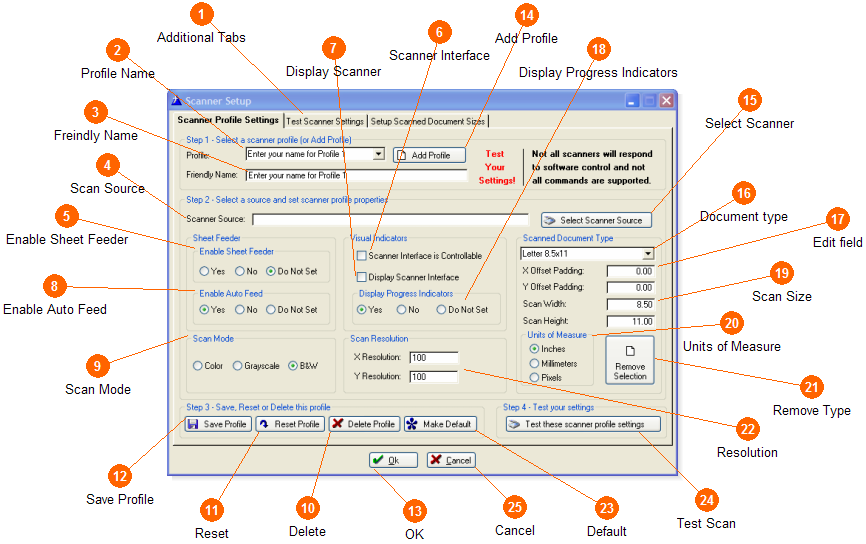
This sceen will give you scanning options. You can set the resolution of your image and create profile to store for future scans. Not all scanners will respond to scanner software.
 Additional Tabs
 These tabs give you additional tools. The Test Scanner tab works when you have setup a profile and clicked the test scanner profile button. It will allow you to see how the page will look once scanned and adjust any mistakes. The Setup Scanner Document tab will allow you to adjust the document types and add new document types for future use.
 Profile Name
 Enter a profile name to store commonly used scanner options.
 Freindly Name
 This name will help you to remember what options belong to this profile. You may want to use the name of the scanner, the resolution, and the mode. Ex: For a scan using a HP scanner, set at 200 resolution, in color you would use HP200Color
 Scan Source
 This will display the name of the scanner which you have choosen to scan from.
  Enable Sheet Feeder
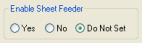 This option will set up the sheet feeder on the scanner. The Do Not Set option is good for scanners that do not respond well to scanner software.
  Scanner Interface
 Once you have choosen a scanner the scan manager will check to see if that scanner can be controlled by this scanner software. This box will be checked if the scanner will follow the scanner options.
 Display Scanner
 This will open the default scanner software from your scanner when you are ready to scan. It will try to use the options you have choosen in the scan manager.
 Enable Auto Feed
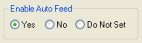 This option tells the scanner to continue scanning multiple pages that are already in the feeder. Some scanners may already be set up to do this.
 Scan Mode
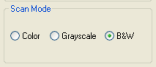 Select your document to be scanned in color, grayscale, or black and white.
 Delete
 This will delete the profile from storage.
 Reset
Reset To clear the options that had been choosen in the profile click here.
 Save Profile
 This allows you to save the scanner options that you have set to use for future scans.
 OK
OK Once you have set your options this will begin the scan.
 Add Profile
 Use this button to add a new profile to your list for different scanner options.
 Select Scanner
 Choose the scanner you would like to use in this profile to scan from. This button will give you a list of scanners linked to your computer.
 Document type
 Choose from the list of document types to use for your scan profile. This will tell the scanner the size of the image that you are going to scan. You can create new sizes in the Setup Scan Document tab. This makes it possible to only scan sections of a full page.
 Edit field
 These offsets allow you to adjust what area the scanner saves. If you would like to come in from the corner where your scanner reads you can adjust the X and Y offsets to the positions you would like.
 Display Progress Indicators
 This otpion will allow to have a progress bar during the scanning to see where you are and how much more you have to scan.
 Scan Size
 This tells you the measurements of the width and height of the choosen document type.
 Units of Measure
 Indicates how the width and height are being measured for the document type you choose.
 Remove Type
 This will remove any choosen document types and clear the information in this section.
 Resolution
 Set the resolution of your scanned images. A lower resolution will be harder to read the image on the monitor. A larger resolution will be more clear, but will take longer to scan amd will be a larger file.
  Default
 Once you have created a profile you can choose to make it your default profile.
 Test Scan
 This feature will test the options that have been choosen to see if your scanner will respond to the comands. This will take you to the Test Scanner tab and give you a preview of what the scan will look like. You can then adjust for any mistakes.
 Cancel
 Cancel out of the Scanner Setup and do not save any added information.