| The Paperless Office |
| Contact screens |
| Main Page |
| Browse Screen |
| Adding a Contact |
| Documents screens |
| Scan List Screen |
| Insert Image |
| Scanner Setup |
| Scan Manager |
Adding a Contact
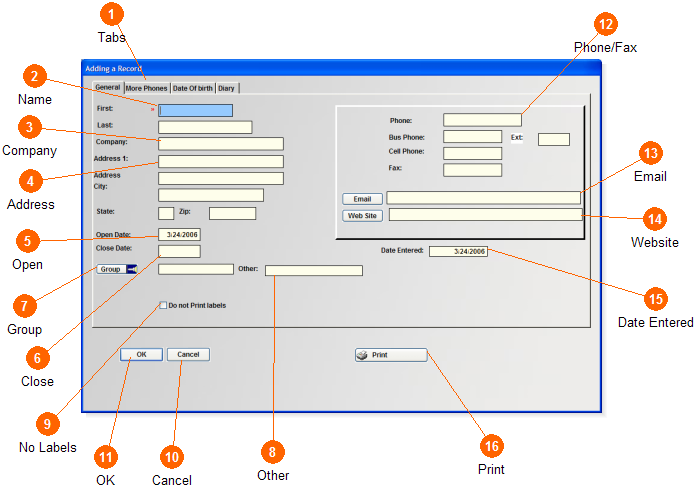
This screen allows you to insert new contacts to your Paperless Office. Store their address, phone numbers, and additional information.
 Tabs
Tabs The General tab stores the basic inforamtion for each contact. This includes phone numbers, address, email, company, and a group for your contact. More Phones tab allows you to store additional phone numbers and emails for each contact. Date of Birth tab allows you to store the birth dates or other important dates of your contact and thier family. Diary tab allows you to store any other neccessary information about your contact. This will be were your to do and suspense report pull from.
 Name
Name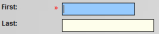 Enter your contacts first and last name.
 Company
 The company field allows you to store the name of the company that each contact is associated with.
 Address
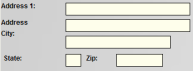 Enter your contacts address with city, state and zip. You will be able to print mailing labels from this information.
 Open
Open This is an optional date. You may want to utilize this date if working on a project for this client. This would allow you to know when the project was started.
  Close
Close This is also an optional date. If you have used your open date to track a project you can use the close date to show when you finished the project.
 Group
Group The group button allows you to keep your contacts more organized by assinging everyone to a group. Store your groups by clicking on the group button. Groups could be family, friends, clients, services, etc.
  Other
Other This area will allow you to enter additional information for this client. This information will appear on the Browse Contact Screen for easy viewing.
 No Labels
 Check this box if this is not a contact that you will need to print mailing labels for. With the box checked they will be left off of your mailing labels list.
 Cancel
 Clicking cancel will return you to the Browse Contact Screen with out saving any added information.
 OK
OK When you have finished entering the contact information click 'OK'. The information will be stored and you will return to the Browse Contact Screen.
 Phone/Fax
 Enter yur contacts phone numbers and fax number.
 Email
Email Enter your contacts main email address here. Click the email button to be directed to your email.
 Website
 Enter a website that is associated to your contact. Go directly to their web page by clicking the 'Web Site' button.
  Date Entered
 This date will be auto filled with the date that you add your contact to the program.
 Print
Print The print button will allow you to have a printed copy of the information that has been stored under each tab. This will only print the contact that you are currently viewing.